Now, here it goes! Bear with me on the instructions since I'm not a pro at making tutorials.
It always starts with supplies. I recommend finding some remnants at your local craft store, I really like Jo-Ann Fabrics since they seem to have the best selection of fabrics. I go every week or so just to check out the remnant bins since most of my plush and fabric creations only need small amounts of fabric. Remnants are super cheap while still being good quality.
I did not use a pattern for this, but you basically need a rectangle of fabric. You can adjust this to fit however many paintbrushes, pens, crayons, pencils, tools, etc., as you want. I ended up with slots for 9 paintbrushes, which I plan on using as my VIP ceramics brushes (i.e. the ones I use the most). Lay out your tools that you want to end up in the roll about an inch apart to give you a good idea of how wide you need the fabric to be.
You want to start with your remnant and lay it out. Ignore the fact that I was lazy and didn't iron it. Mine was an odd shape from what I'd already used, so I cut off the extra to give it straight sides:
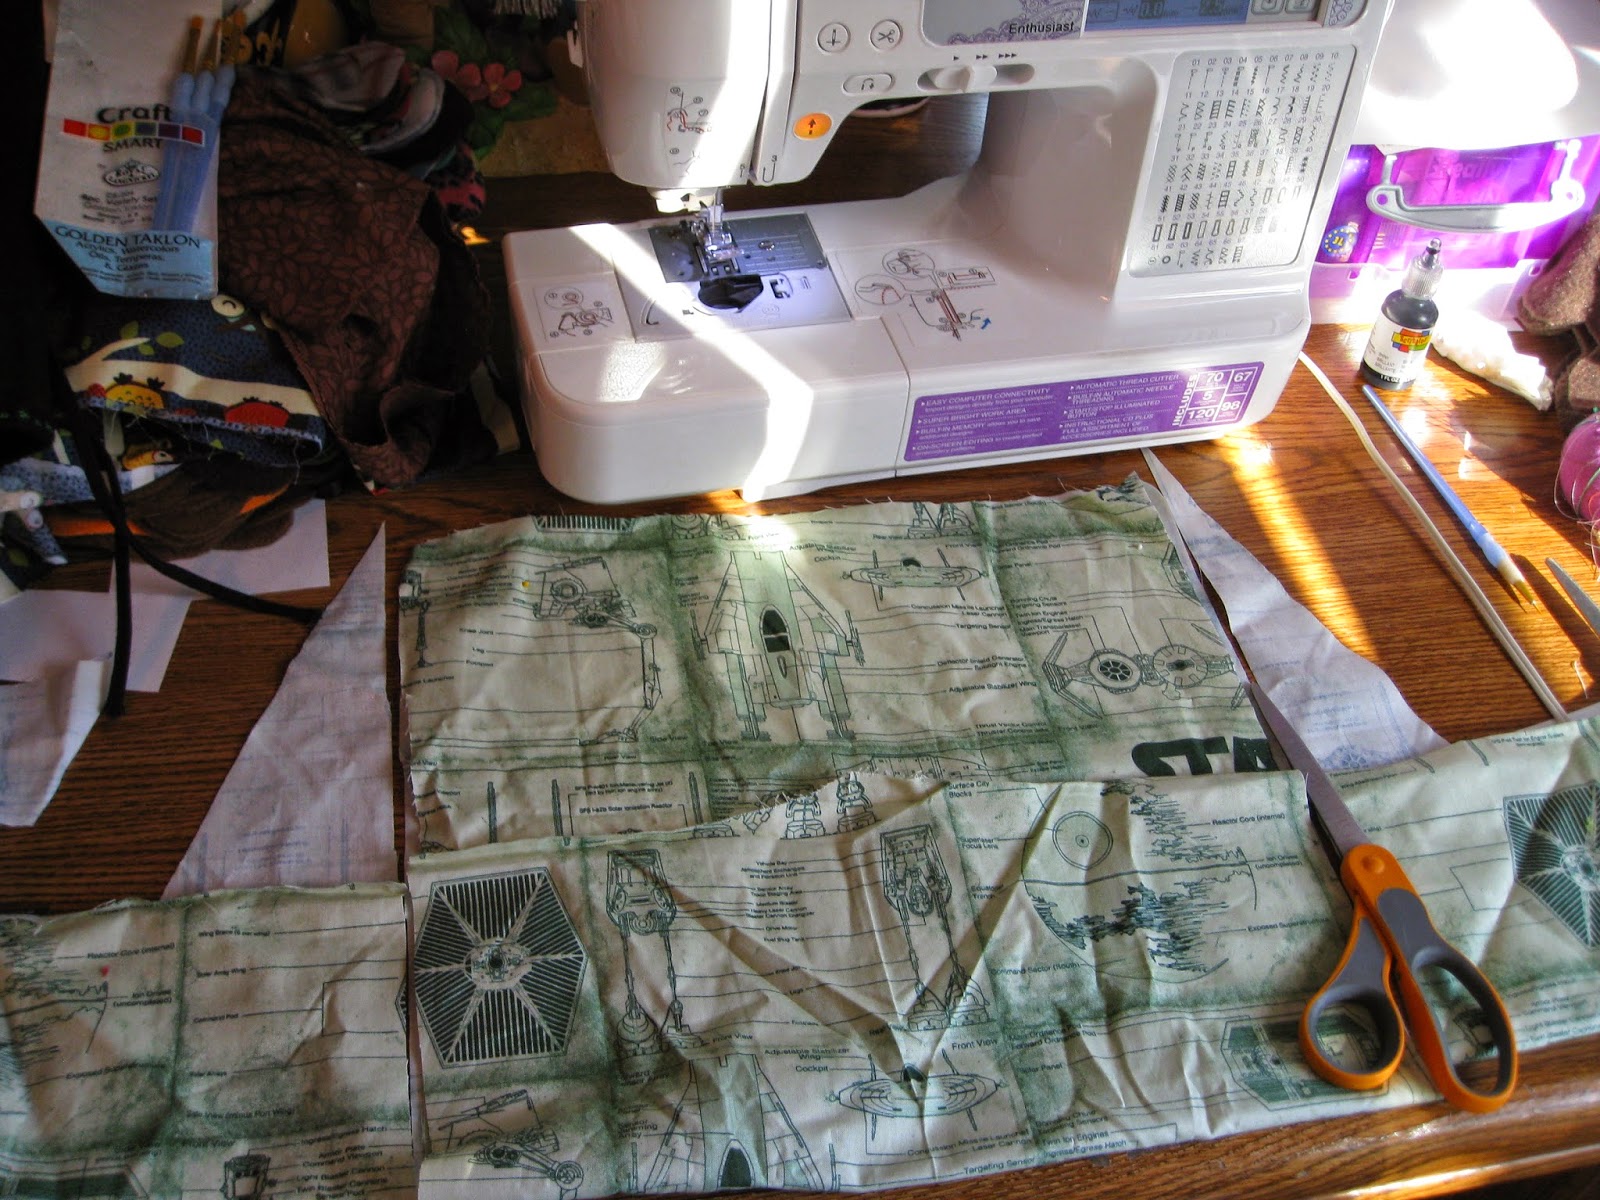
All you really need is one long piece, but since I didn't have a single piece long enough, I laid a smaller square on top of the larger piece so the paintbrushes will lay on top of the fabric instead of the backside of the fabric. The bottom fabric section in the first picture is actually the bottom of the larger piece that has been folded up over the smaller piece. After that, I started pinning the part that will end up holding the paintbrushes to give it a finished edge that won't fray. I use a standard stitch on my sewing machine. You can definitely change it up if you want to get fancy. You can also choose to use two different fabrics so the inside is another design or pattern.

As you can see, you do not need the project to be completely covered by the right side of the fabric since you will be folding over and sewing the pocket the paintbrushes will be tucked into. Try to keep your pinning as straight as you can if you'd like the pockets to be the same height. If you're trying to accommodate a variety of different shapes and sizes of tools, you can actually sew an angled seam so that you can store both tall and short utensils. I wanted mine to be slightly shorter on the left and taller on the right (you'll be able to see in the end result).

When you line up the machine, keep the seam line a consistent distance from the edge of the fabric. Remove the pins as they get closer to the sewing foot. You can definitely sew by hand if you do not have a sewing machine. I recommend measuring and marking where you want to sew with a pencil or chalk when hand sewing a straight seam.

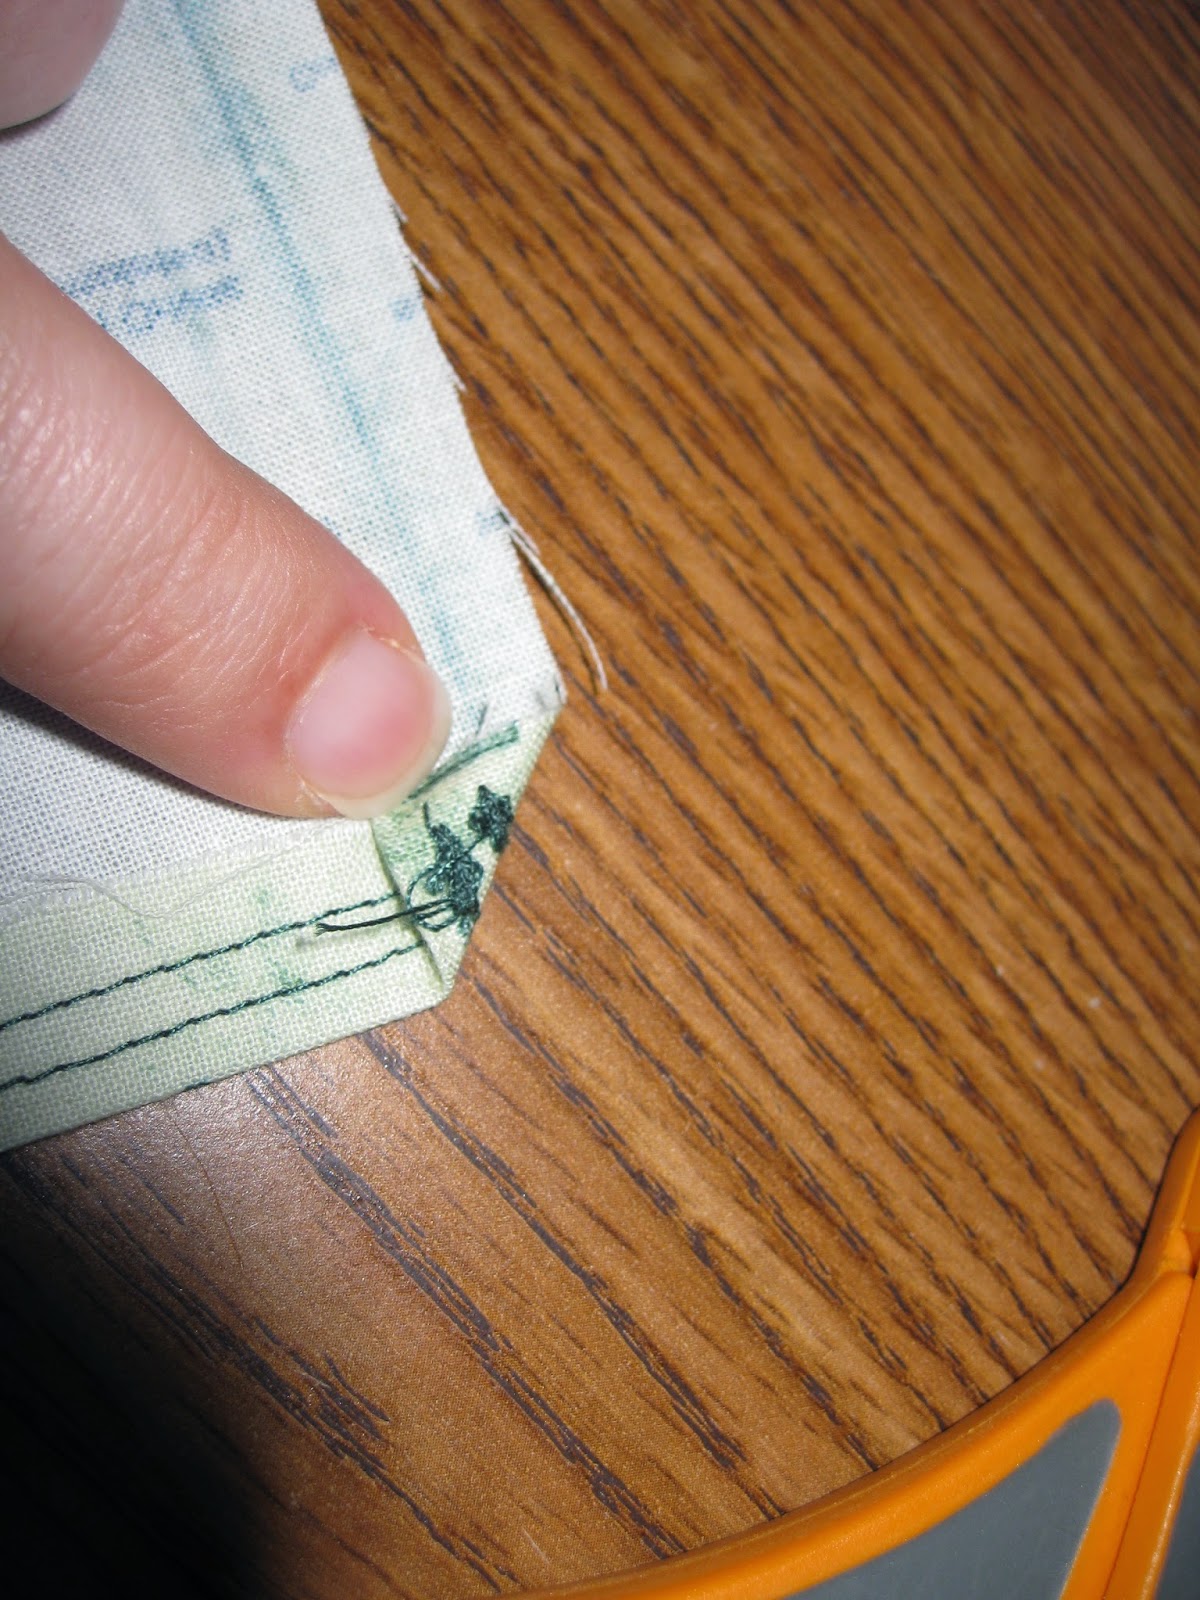
I made mine with a double seam.

Which ended up looking like this:

Next, you want to pin around the sides where the fabrics end. If you make it with a longer piece that folds over, you won't have to sew as many sides. My pieces were separate, so I had to sew along all the sides.

The end result should leave a pocket that you'll be turning rightside out. (But not yet.)

Next, I wanted to make sure the edges look finished on the part that gets folded over to hold the brushes.


Fold it over along the sides to line it up with the bigger piece and pin it all the way around so the edges line up.


I like doing this because it will make the edges look nicer.

Turn it inside out so that the pattern of the fabric is facing the right way. I wanted to finish the edges with another stitching line, so I went over it again with my sewing machine.

The next step is to fold the edge over so that it will be tall enough to hold all of your items, brushes, pencils, whatever.

Line up the length.

Then, pin and sew!


Figure out how wide the individual pockets need to be by inserting the items you want it to hold, then pin in the spots you need a stitch.

Line up the pins with your machine and sew!

Now you've got an awesome paintbrush/utility roll!


No comments:
Post a Comment